
Old leaf spring bushings
needed to be replaced. Getting the old ones out is a real chore. I ended up drilling lots of holes through them and then breaking out chunks with a screwdriver

Air adjustable shock absorbers
Behind the leaf spring shackle you see a massive air adjustable shock absorber. I'm not sure why these were necessary. The car had a trailer hitch when I got it so maybe the previous owner was hauling heavy loads? The air lines were all dry rotted so the shocks didn't do much "absorbing".

Leaf spring lowering kit
My local Advance Auto had a generic 2" lowering block kit that looked like it would work. It had been returned previously and the box was barely intact so the clerk offered a discount. I found out later that it was missing one nut and lock washer. Nothing a quick trip to the hardware store couldn't fix.

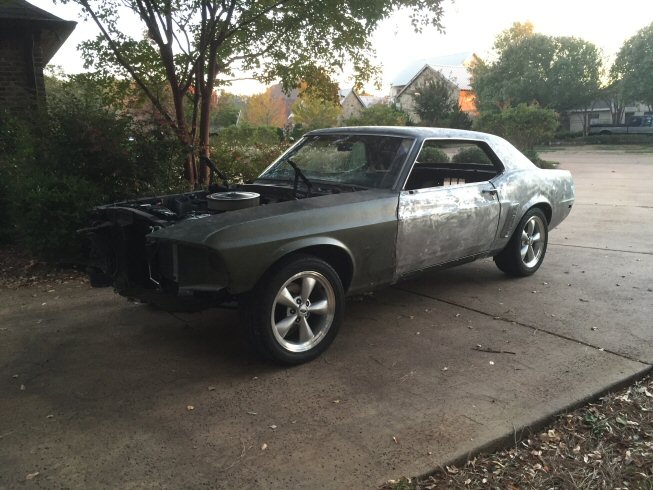
Stance
With the lowering blocks installed, the car no longer had a jacked up 4x4 stance. With the negative rake, it looked more like a "gasser". Front suspension mods coming soon.

Rear view with lowering blocks installed
This was a generic kit so the U bolts were oversized and needed to be cut down. Here, the right side has been trimmed and painted.

Opportunities missed
I missed a great opportunity to clean and paint the axle while the leaf springs were off. I didn't have the new poly bushings when the kit was installed so I had to take the springs off a second time. Once again, I missed a good chance to paint the axle.
Now the front needs to be lowered.

Still sitting a little high.
I'd like to drop the rear another inch. The fuel tank is empty so maybe a full tank will drop it down some more.

Rock Auto Santa arrived!
I ordered parts to rebuild the front suspension and rear drum brakes. included in the order: front & rear KYB shocks, coil spring seats, heavy duty coil springs, upper control arm ball joints and shaft kit, lower control arms, strut rod bushings, stabilizer bar links and bushings, drum brake rebuild kit and new drums.

Coil spring compressor
There are too many stories of coil spring compressors failing and causing serious injury and death. This is one place where it is critical to use the right tool for the job. Many mustang owners recommended a tool fabricated by ebay user "tommyzees"

Coil spring compressor
This tool mounts to the shock tower and spring perch just like a shock absorber. As you tighten the nut against the thrust washer, the coil spring is compressed. Supported by a jack under the lower control arm, the spring perch is unbolted from the upper control arm.

Coil spring compressor
The spring is further compressed until the upper control arm can be unbolted from the frame and rotated out of the way. At this point, the spring can be decompressed fully and safely removed.

Coil spring removed
At all times while the spring is compressed, it is captured by the tool. If the spring were to somehow slip off the perch, it still could not "spring" free.

New vs old coil springs
The new spring is shorter but stiffer. The final ride height will actually be higher with the new springs.

Measuring for lowered ride height
This may not be the right way to go about this but it seemed better than guessing. I wanted about a 2.5 inch drop. With the new spring installed and supporting the weight of the car, I marked the coil at the point where it measured 2.5 inches from the top.

Cutting the spring
The spring was then removed and cut at the mark. In this case, the spring was shortened by 1 1/3 coils.

Shelby drop
While the springs were off, I replaced the lower control arms, upper ball joints, stabilizer links and bushings. I also relocated the mounting points for the upper control arm one inch lower. See: http://dazecars.com/dazed/drop.html for more info.

Final height
This is a bit higher than I intended but I decided to wait a bit and let the suspension settle before cutting again. Good thing I did...the suspension has now settled to the perfect ride height

New stance
Here, the stance is about level. Eventually, it will settle to about an inch lower in the front.
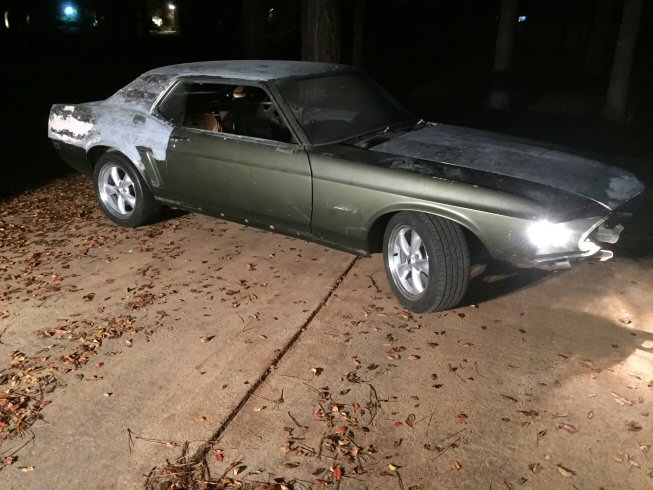
New stance

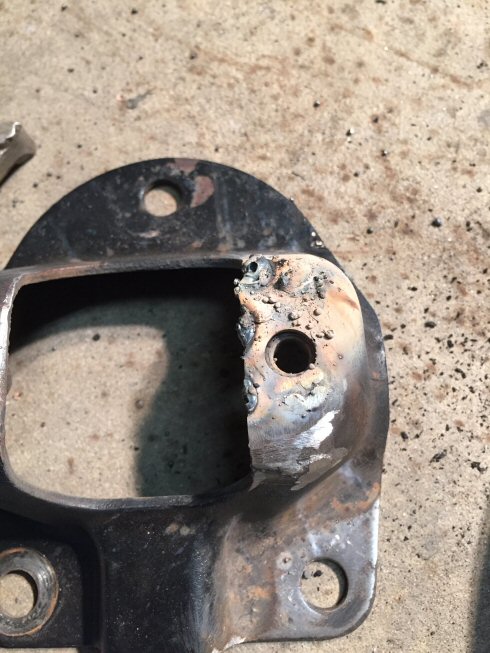
Broken shock absorber mount
When removing the driver side shock absorber, I found that the mount had broken leaving the shock attached by only one bolt.

prep for welding

It looks bad but the welds are good.
I need a lot more practice.

It looks bad but the welds are good.
One small piece was missing. I had to cut a new piece to replace it.

welds ground down
and prepped for more welding
Missing piece is added
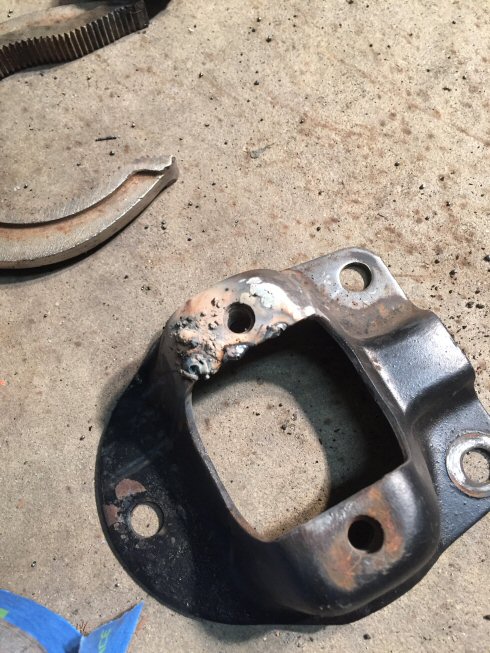
Missing piece is added

Good as new?

Tailpipe installed
I don't have any work-in-progress pics but there is nothing special here...I clamped a pre-bent tailpipe to the muffler and added a generic hanger.